Home
About
Gallery
Contact
Menu
Home
About
Gallery
Contact
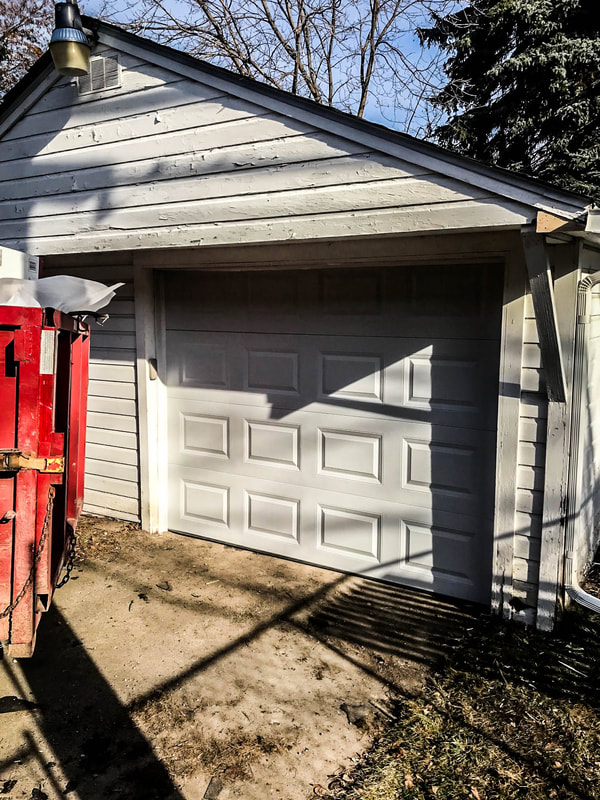
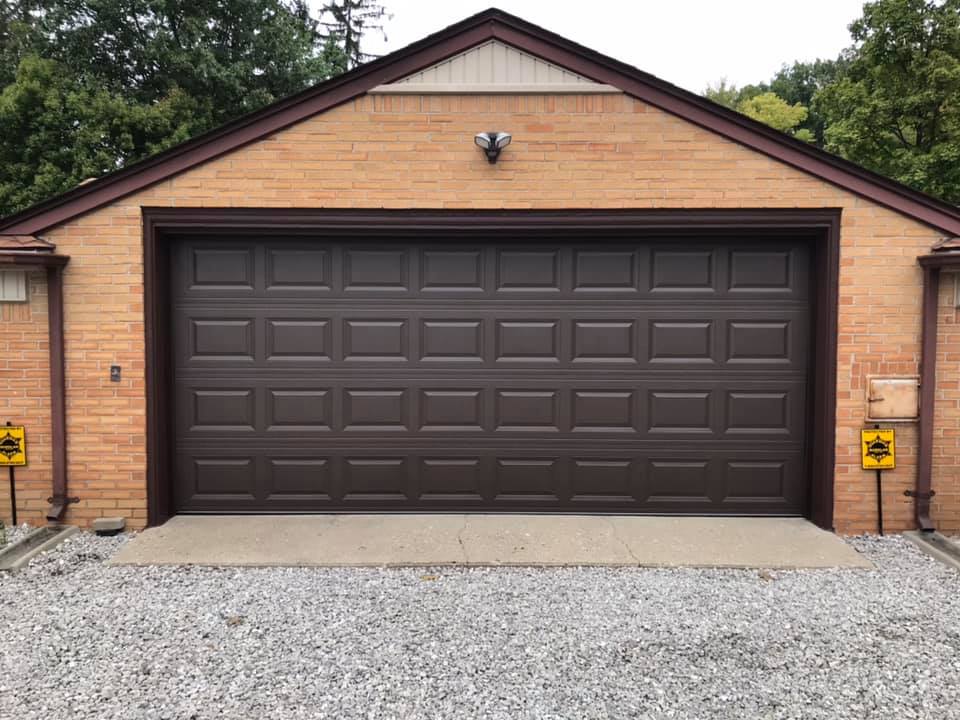
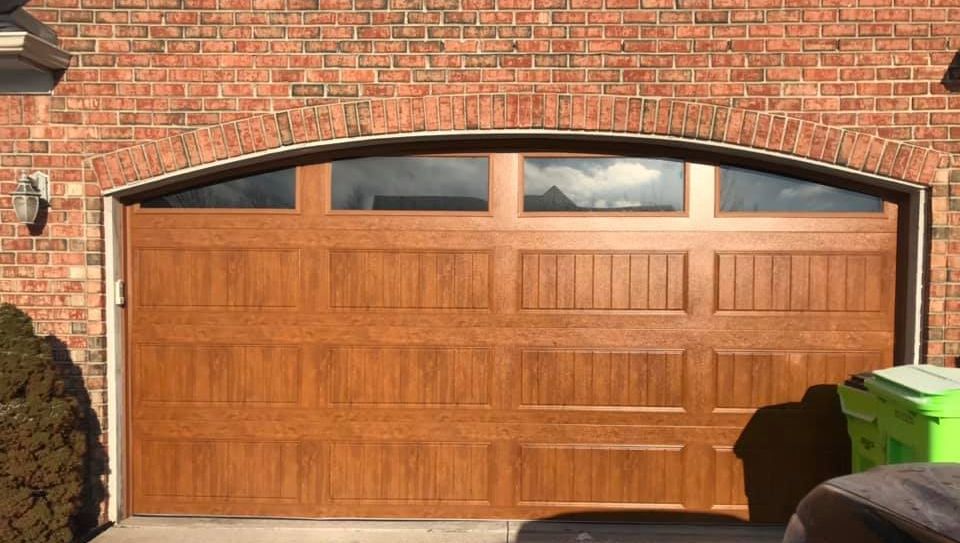
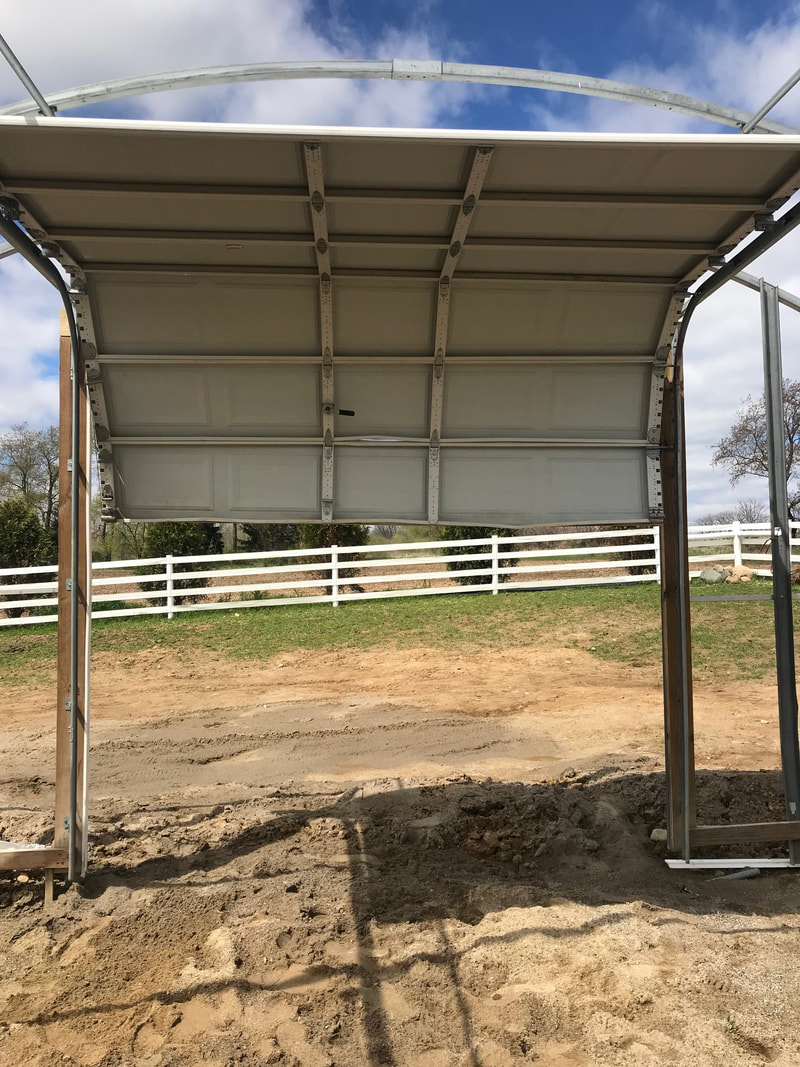
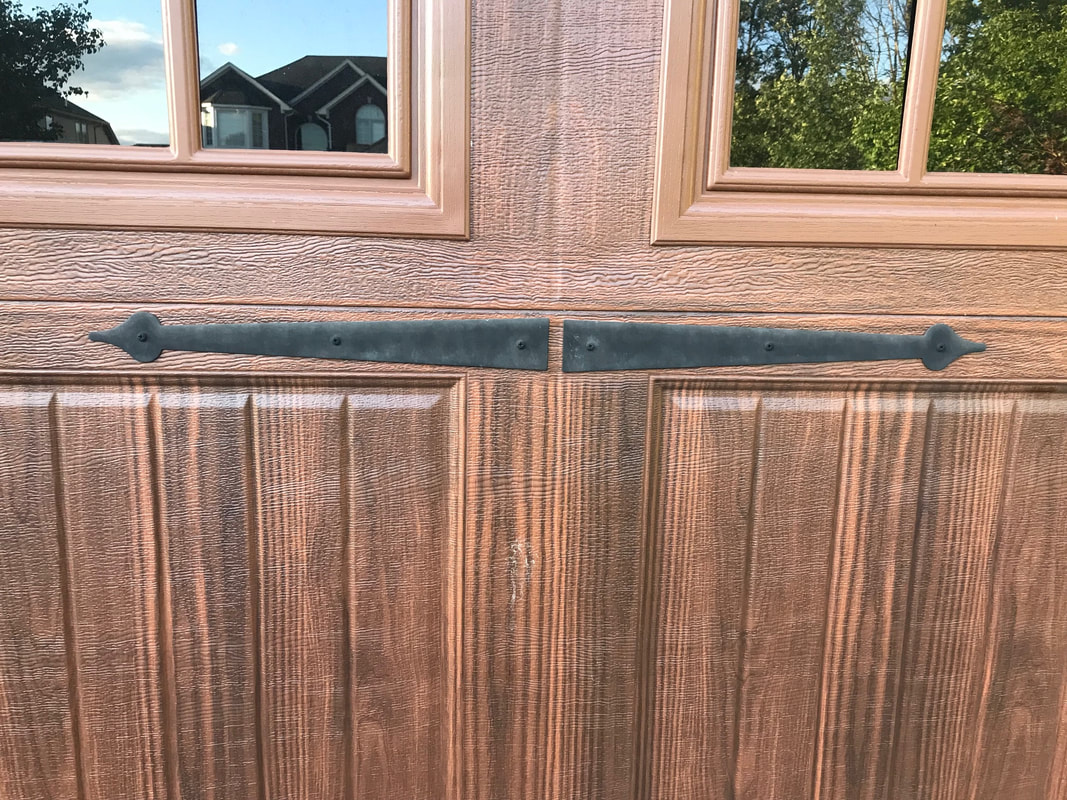
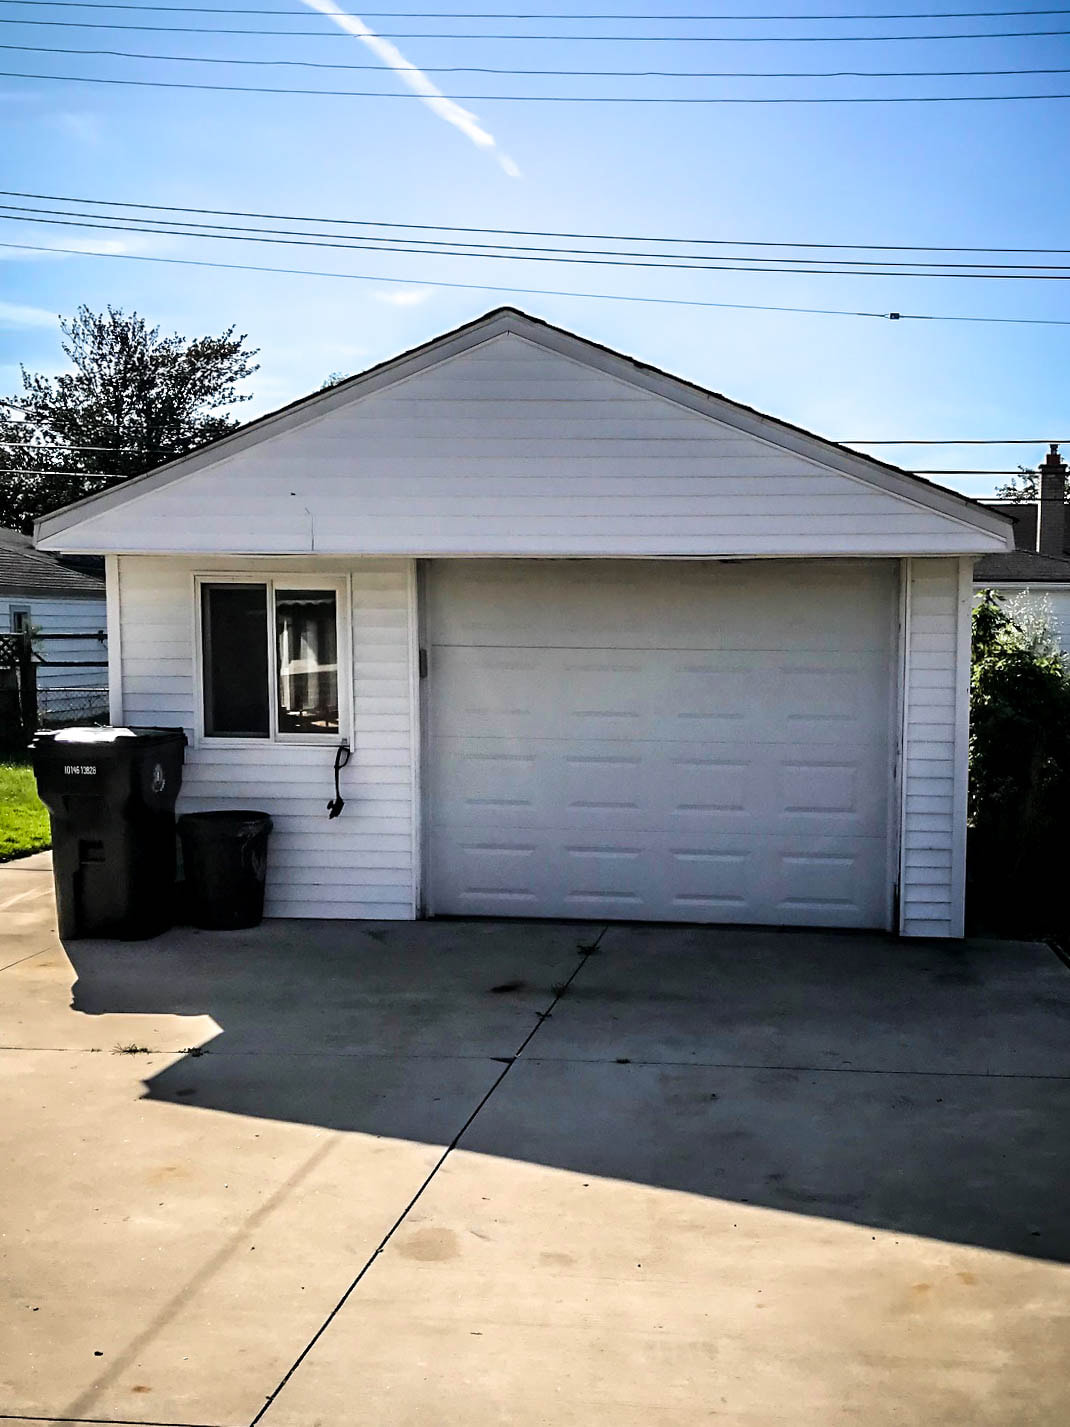
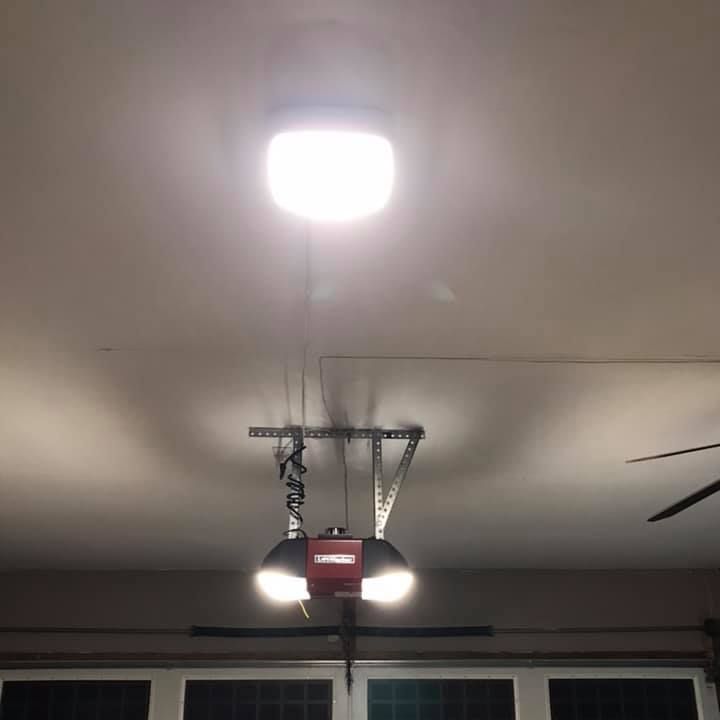
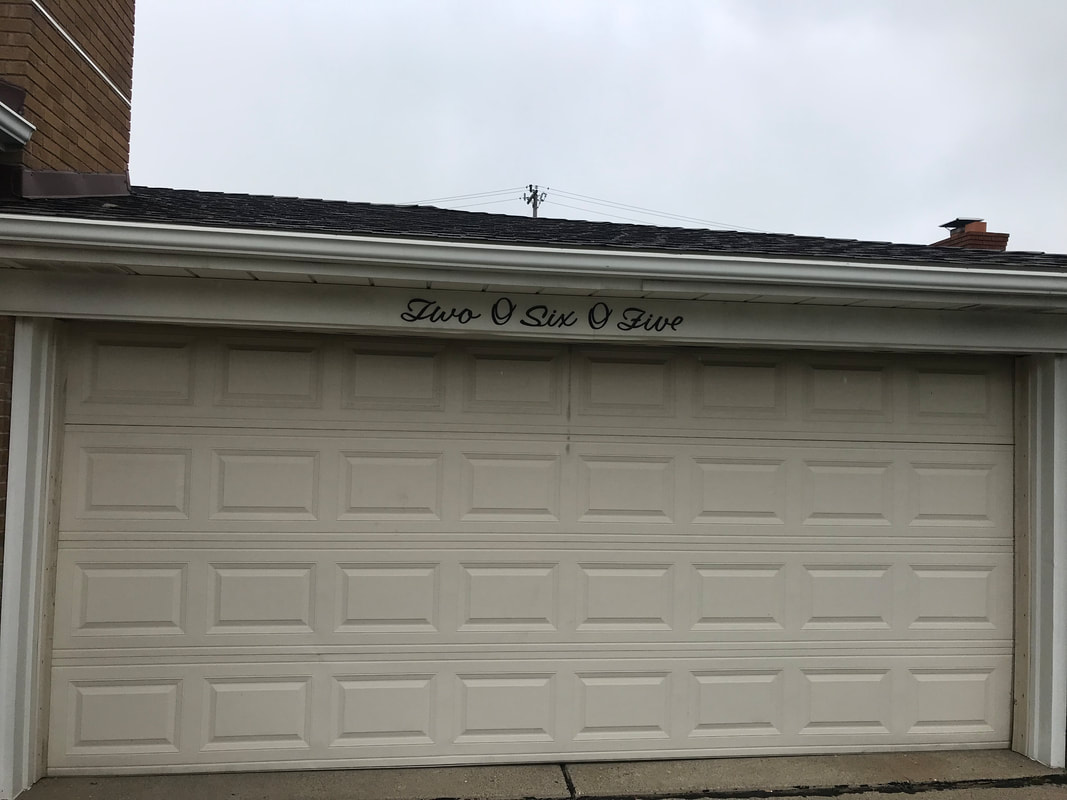
BEFORE & AFTER
BEFORE & AFTER
Home
About
Gallery
Contact